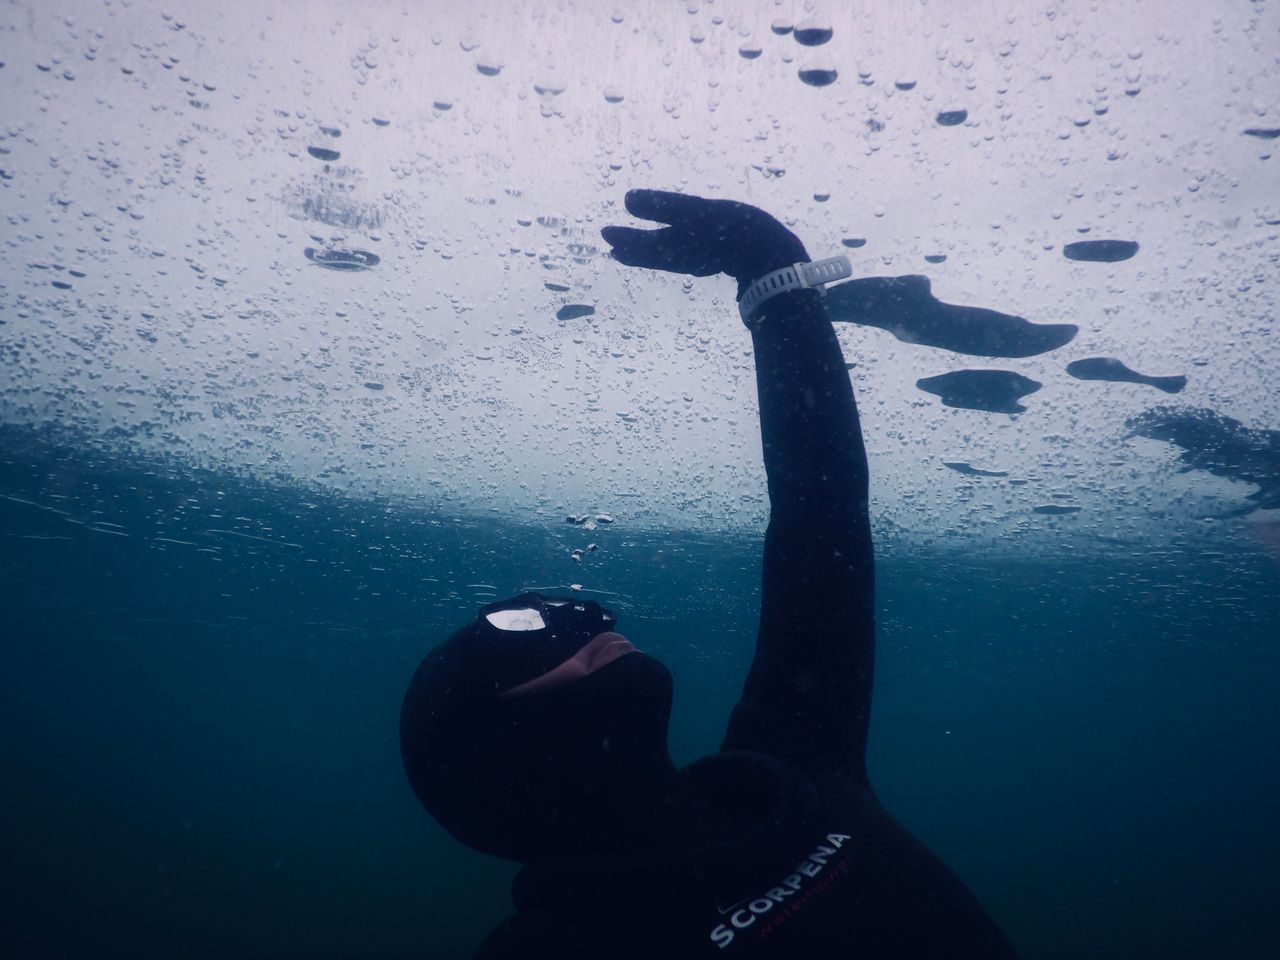
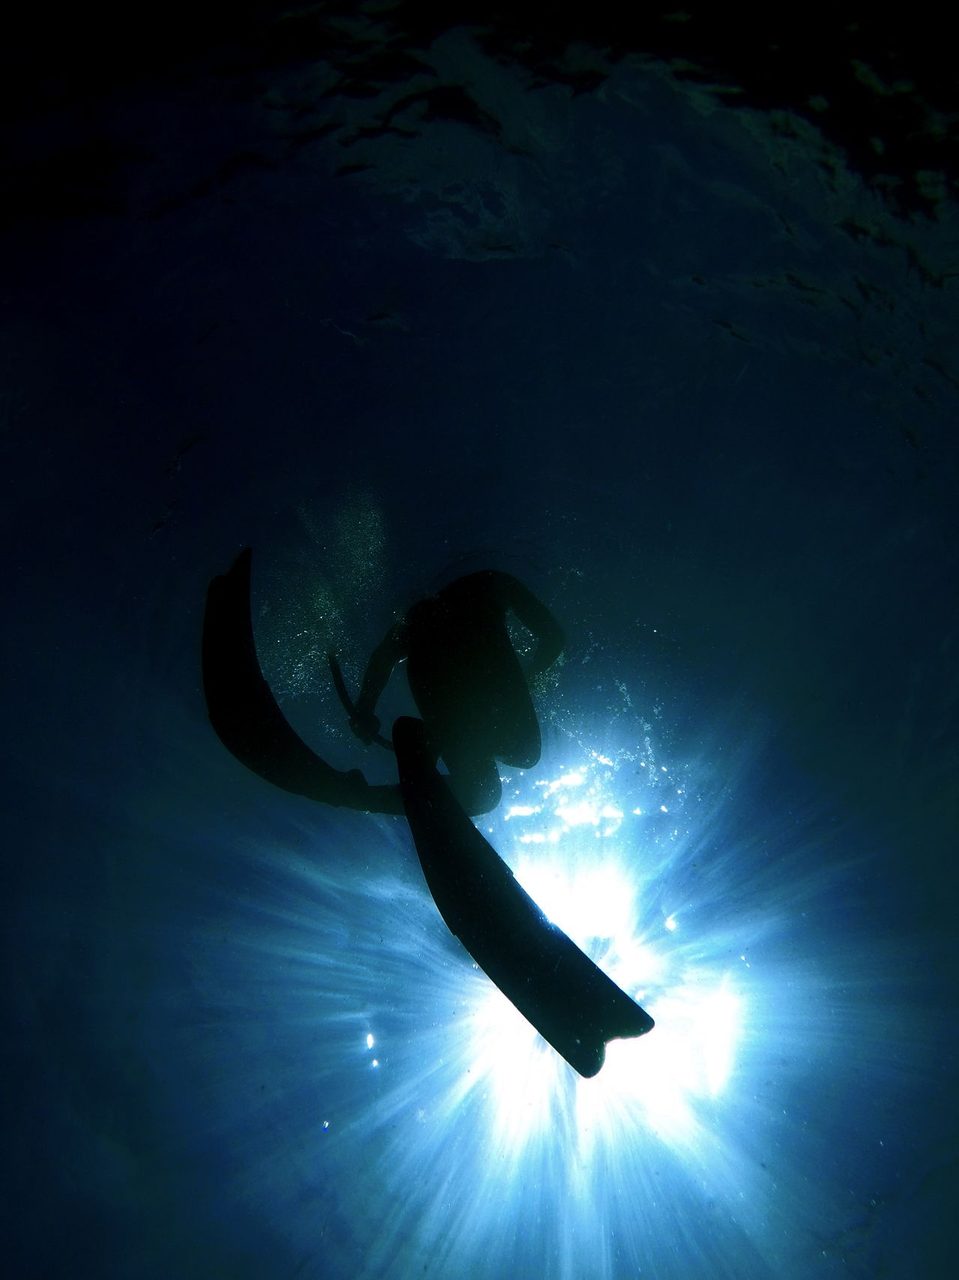
作者: admin

  • Dean’s Blue Hole: the 202m sinkhole in the Bahamas

    Dean’s Blue Hole: the 202m sinkhole in the Bahamas

    It isn’t a cave and isn’t a wreck. Dean’s Blue Hole is a near-perfect vertical shaft in the seabed off Long Island, Bahamas, and at roughly 202m it’s among the deepest blue holes reachable from the surface.

    The numbers

    • Max depth: about 202m, 663 feet, at the shaft bottom.
    • Water temperature: 25 to 29°C in the warm layer; a sharp thermocline drops it sharply below roughly 30m.
    • Level: advanced to expert only. The entry is a small opening; the dive is a vertical line in open blue.
    • Season: calmest conditions roughly April to September; summer brings the steadiest visibility.

    What makes it a rite of passage isn’t the depth. It’s that there’s nothing to see but blue, and the discipline to turn while you still have the gas to ascend. Treat it as a bucket-list spectator site first, not a first international trip. Train, then travel.

    Partner

    Plan dive travel and gear through House of Scuba.

    HomeStoriesGearContact© 2026 BlueHole · For education only
  • The buddy check: 5 things before every dive

    The buddy check: 5 things before every dive

    Most freediving incidents don’t happen deep. They happen in the last few meters, alone, after someone skipped the boring part. The boring part is this check.

    Before you enter the water

    • Buddy assigned, visually: one person whose only job on your dive is to watch your face from start to surface. “Nearby” is not assigned.
    • No hyperventilation: forced fast breathing to get more air is the single most common cause of shallow-water blackout. Controlled slow breathing only.
    • Equalization plan: if you can’t clear at 5m in the pool, you won’t at 25m in the sea. Know your limit before you exceed it.
    • Ascent slower than your smallest bubble: lungs are fullest at the surface; rushing up spikes pressure changes.
    • Surface protocol: one to two minutes of full exhale-inhale recovery breathing between dives. No back-to-back.

    None of this is cautionary theater. It’s the difference between a sport with a manageable incident rate and one that makes the news. Take a certified course before independent diving. Reading a list is not training.

    HomeStoriesGearContact© 2026 BlueHole · For education only
  • Watch: a 130m+ CWT dive, frame by frame

    Watch: a 130m+ CWT dive, frame by frame

    You don’t learn depth from a number. You learn it from watching someone do it cleanly. This is one of the cleanest constant-weight dives on film.

    Two things to notice on a rewatch: the descent is monotonously calm, no kicking sprint and no strain, and the ascent is slower than the bubbles. That isn’t style. It’s Boyle’s law doing the work, and a diver who trusts it instead of fighting it.

    For context, elite constant-weight dives now exceed 130m. Recreational training tops out far lower, and that gap is almost entirely protocol, not physiology. Watch the buddy and the safety divers, not just the line.

    HomeStoriesGearContact© 2026 BlueHole · For education only
  • Carbon vs fiberglass fins: what the stiffness specs mean

    Carbon vs fiberglass fins: what the stiffness specs mean

    Fins are the one piece of gear that changes how far each kick takes you. The carbon versus fiberglass debate isn’t about status. It’s about thrust per joule, and the number that matters is stiffness.

    What the materials actually do

    Carbon fiber blades are stiffer at the same weight and return energy faster, so each kick converts more leg effort into forward motion. Fiberglass is softer and more forgiving, easier on untrained legs, cheaper to replace. Plastic, the 80 to 200 dollar entry tier from Cressi, Mares and Beuchat, is fine for a first course but flexes out before you do.

    Price tiers, real ones

    • Plastic or composite: 80 to 200 dollars. Rent-first territory, good for try-dives.
    • Fiberglass: 200 to 400 dollars. The sweet spot for most hobby divers doing 10 to 25m.
    • Carbon, think Leaderfin, Alchemy, Carbonio: 400 to 800 plus. Worth it only once you’re diving two or three times a week.

    The trap is buying carbon at month two and blaming the fins when your legs tire at 18m. Match the blade to your training volume, not your ambition. When you’re ready to compare certified-retailer stock, the link below costs you nothing extra.

    Partner

    Compare carbon and fiberglass fins at House of Scuba. We only link gear we’ve spec-checked.

    HomeStoriesGearContact© 2026 BlueHole · For education only
  • Training log: the morning 20m stopped scaring me

    Training log: the morning 20m stopped scaring me

    Month four of training, and the dive that used to sit in my chest like a lump went… fine. Not easy. Just fine.

    I started where almost everyone does: pool sessions, a mask, and a coach repeating “equalize early, equalize often.” The Valsalva I arrived with stopped working past 8m. That’s normal. Most adults lose it as the mask and sinuses load up. What replaced it was Frenzel: tongue against the soft palate, a small pump, no pinch.

    The number that changed my week was a CO2 table. Three rounds, short holds, thirty seconds of easy breathing between. Not to build a bigger breath, but to teach my body that a little carbon dioxide is not an emergency. After two weeks the urge to bail at 15m dropped.

    At 20m the water goes quiet in a way no pool prepares you for. The dive I logged this morning was my cleanest descent yet: one equalization per meter, eyes open, line in sight the whole way down. My buddy did not have to move once.

    None of this is me being special. It’s the standard path, course then tables then buddy then patience, done without skipping steps.

    HomeStoriesGearContact© 2026 BlueHole · For education only
  • Frenzel vs Valsalva: which equalization to learn first

    Frenzel vs Valsalva: which equalization to learn first

    If you plan to go deeper than a swimming pool, equalization is the skill that decides whether you enjoy it or quit. Two methods dominate entry-level training, and the order you learn them matters.

    Valsalva, what you already know

    It’s the pinch and blow most people do instinctively: close your nose, push. It works to roughly 10m for many adults, then the pressure wins. The issue isn’t technique quality. It’s that Valsalva raises chest pressure and past a point you simply can’t generate enough force. About 8 of every 10 beginners hit a wall near 8 to 12m.

    Frenzel, what you should actually learn

    Frenzel uses the tongue as a piston against the soft palate, glottis closed. No nasal pinch, far less effort, and it keeps working at depth because it does not fight your lungs. Most formal freediving courses teach it as the default for exactly this reason.

    The numbers that decide it

    • Valsalva: typically fails past 10 to 12m as mask and sinus pressure climb.
    • Frenzel: functional to 30m plus for most trained divers, no extra gear needed.
    • Mouthfill, advanced: layered on Frenzel for 40m plus. Not a beginner concern.

    Learn Frenzel first. You’ll spend one pool session unlearning the pinch habit, then wonder why you ever fought the water. If a course offers only Valsalva, ask for the Frenzel module before you book.

    HomeStoriesGearContact© 2026 BlueHole · For education only
  • twentytwentyfive

    /* ============================================================
    BlueHole · 欧美信任型主题 CSS
    用途:WordPress 后台 外观→自定义→附加CSS 粘贴;
    或放进子主题 style.css。配合轻量主题(GeneratePress/Astra)。
    设计令牌:系统字体 + 65ch 阅读宽 + 单一水色强调 + 大留白。
    ============================================================ */

    :root{
    –ink:#16242e; /* 主文字 深墨蓝 */
    –muted:#5b6b75; /* 次要文字 */
    –accent:#0e8a8e; /* 水色 teal 强调 */
    –accent-soft:#e6f4f5; /* 浅水色底 */
    –line:#e4eaed; /* 边框线 */
    –bg:#ffffff;
    –paper:#fbfcfc;
    –radius:10px;
    }

    /* 阅读容器:65ch 黄金阅读宽 + 居中 */
    .entry-content,
    .prose{
    max-width:68ch;
    margin:0 auto;
    font-family:-apple-system,BlinkMacSystemFont,”Segoe UI”,Roboto,Helvetica,Arial,sans-serif;
    font-size:17px;
    line-height:1.72;
    color:var(–ink);
    }

    /* 标题层级 */
    .entry-content h1,
    .prose h1{font-size:2.1rem;line-height:1.2;letter-spacing:-.02em;margin:.2em 0 .5em;}
    .entry-content h2,
    .prose h2{font-size:1.5rem;line-height:1.3;margin:2em 0 .6em;padding-bottom:.3em;border-bottom:2px solid var(–accent);}
    .entry-content h3,
    .prose h3{font-size:1.18rem;margin:1.5em 0 .4em;color:var(–ink);}

    /* 段落与链接 */
    .entry-content p,
    .prose p{margin:0 0 1.1em;}
    .entry-content a,
    .prose a{color:var(–accent);text-decoration:none;border-bottom:1px solid var(–accent-soft);}
    .entry-content a:hover,
    .prose a:hover{border-bottom-color:var(–accent);}

    /* 引导段 */
    .entry-content .lead,
    .prose .lead{font-size:1.12rem;color:var(–muted);}

    /* 表格 */
    .entry-content table,
    .prose table{width:100%;border-collapse:collapse;margin:1.4em 0;font-size:.95rem;}
    .entry-content th,
    .prose th{background:var(–accent-soft);color:var(–ink);text-align:left;padding:.7em .8em;border:1px solid var(–line);}
    .entry-content td,
    .prose td{padding:.65em .8em;border:1px solid var(–line);}
    .entry-content tr:nth-child(even) td,
    .prose tr:nth-child(even) td{background:var(–paper);}
    .entry-content td.yes,
    .prose td.yes{color:#0a7d2c;font-weight:600;}
    .entry-content td.no,
    .prose td.no{color:#c0392b;font-weight:600;}

    /* 信任条 / 披露条 */
    .trustbar,.disclosure{
    background:var(–accent-soft);
    border-left:4px solid var(–accent);
    padding:.9em 1.1em;margin:1.4em 0;border-radius:var(–radius);
    font-size:.92rem;color:var(–ink);
    }
    .disclosure{background:#fff8e6;border-left-color:#e0a800;}

    /* 速选框 */
    .pickbox{
    background:var(–paper);border:1px solid var(–line);
    border-radius:var(–radius);padding:1.1em 1.3em;margin:1.6em 0;
    }
    .pickbox h3{margin-top:0;color:var(–accent);}
    .pickbox table{margin:0;}
    .pickbox td:first-child{font-weight:600;width:34%;color:var(–ink);}

    /* 联盟 CTA 块 */
    .aff-cta{
    display:flex;align-items:center;gap:1em;flex-wrap:wrap;
    background:var(–accent);color:#fff;border-radius:var(–radius);
    padding:1em 1.3em;margin:1.8em 0;
    }
    .aff-cta .t{font-weight:700;font-size:1.05rem;}
    .aff-cta .s{font-size:.9rem;opacity:.92;flex:1;min-width:200px;}
    .aff-cta .btn{
    background:#fff;color:var(–accent);font-weight:700;
    padding:.6em 1.1em;border-radius:8px;text-decoration:none;border:none;
    white-space:nowrap;
    }
    .aff-cta .btn:hover{background:var(–accent-soft);}

    /* 作者框 */
    .authorbox{
    display:flex;gap:1em;align-items:flex-start;
    border-top:1px solid var(–line);border-bottom:1px solid var(–line);
    padding:1.3em 0;margin:2em 0;
    }
    .authorbox img{width:64px;height:64px;border-radius:50%;flex:none;}
    .authorbox h4{margin:0 0 .3em;color:var(–accent);}
    .authorbox p{margin:0;font-size:.92rem;color:var(–muted);}

    /* 面包屑 */
    .crumb{font-size:.85rem;color:var(–muted);margin-bottom:1em;}
    .crumb a{color:var(–muted);border:none;}

    /* 作者署名行 */
    .byline{display:flex;align-items:center;gap:.7em;margin:1em 0 1.4em;font-size:.9rem;color:var(–muted);}
    .byline img{width:42px;height:42px;border-radius:50%;}
    .byline b{color:var(–ink);}

    /* 广告占位(Ezoic 审批后替换) */
    .ad{
    background:repeating-linear-gradient(45deg,#f4f7f8,#f4f7f8 12px,#eef3f4 12px,#eef3f4 24px);
    border:1px dashed var(–line);border-radius:var(–radius);
    padding:1.4em;text-align:center;color:var(–muted);font-size:.88rem;margin:1.8em 0;
    }

    /* 全局:正文区留白 */
    .entry-content{padding:2.5em 1.2em 1em;}
  • Shallow Water Blackout: The #1 Freediving Risk & How to Actually Avoid It

    Shallow Water Blackout: The #1 Freediving Risk & How to Actually Avoid It

    Home › Safety

    Shallow water blackout: the #1 freediving risk & how to actually avoid it

    Why trust this guide: incident rates and protocols reflect standard AIDA/SSI training doctrine and published freediving safety analyses (NCBI StatPearls, agency fatality reviews).
    Safety note: reading this is not training. Take a certified course before independent diving.

    If you read only one article on this site before your first dive, make it this one. Not the fins. Not the suit. This.

    Shallow water blackout (SWB) is the leading cause of freediving fatalities among recreational divers — the people who aren’t competing, aren’t going deep, aren’t doing anything that “looks” dangerous. It happens in the last few meters, often within arm’s reach of the surface, to people who felt totally fine two seconds earlier.

    What SWB actually is

    A blackout is a loss of consciousness from hypoxia — not enough oxygen in the blood — usually during the final ascent or right at the surface. Here’s the trap most beginners walk into:

    Your urge to breathe is driven by CO2 buildup, not by low oxygen. If you hyperventilate before a dive (fast big breaths to “get more air”), you blow off CO2. That delays the urge to breathe — you feel calm and capable deeper than you should. But oxygen is still quietly dropping. Near the surface, O2 crosses the blackout threshold, and you lose consciousness with zero warning. No struggle. No signal.

    That’s why it’s called shallow water blackout — it typically happens under ~10 m, often in the last few meters, because that’s where the oxygen finally runs out after a dive.

    The numbers (why this isn’t fear-mongering)

    Reported incident rates vary by source, but the pattern is consistent across freediving safety analyses:

    • Competitive / trained freedivers: roughly 1 fatality per 50,000 dives — they train the protocols below relentlessly.
    • Recreational / spearfishing divers (untrained): estimates run far higher, on the order of 1 incident per 500 dives — SWB is the dominant cause.

    The gap isn’t luck. It’s protocol. Trained divers don’t black out less because they’re tougher; they black out less because they never dive alone and never hyperventilate.

    The rules that keep you alive

    These are non-negotiable, not “tips”:

    1. Never dive alone. Ever. A buddy must keep you in constant visual contact from start to surface. Not “nearby.” Visual. Your buddy’s only job on your dive is to watch your face.
    2. No hyperventilation. Controlled, slow breathing to relax is fine. Forced fast hyperventilation to “extend” the dive is the single most dangerous habit — it’s the direct cause of most SWBs.
    3. Ascent slower than your smallest bubble. Your lungs are fullest (Boyle’s law) at the surface; ascending too fast spikes pressure changes. A slow, relaxed ascent lets your buddy see you the whole way up.
    4. Recognize LMC. A “loss of motor control” (also called a samba) is your body’s last warning — uncontrolled shaking, can’t hold things. It means you’re at the edge. Any LMC = end of session, no arguing.
    5. Proper breathe-up and recovery. Relax 1–2 minutes at surface, full exhales-then-inhales, before and after each dive. Rushing dives back-to-back is how people get caught.

    Get trained — this is where we link courses

    Reading an article is not training. The protocols above become muscle memory only through a certified freediving course (AIDA, SSI, or PADI entry levels). A one-day confined-water session teaches you equalization, the breathe-up, and — most importantly — the buddy system under a live instructor.

    If you’re considering a course, we link to certified training providers via our Awin affiliate relationship; if you book through those links we may earn a commission at no extra cost to you. But the point isn’t the link: the point is that you take the course before you take the water seriously. See our beginner roadmap for what to expect in your first sessions.

    The move

    Before you buy another piece of gear: dive with a trained buddy, ban hyperventilation, and book an entry cert. A $200 course beats a $400 suit if the suit’s owner blacks out alone.

    Jonas Reef

    About Jonas Reef

    AIDA 3-star freediver. Safety content is written to reflect standard AIDA/SSI training doctrine; it does not replace in-person instruction. Always train under a certified instructor before independent diving.

    BlueHole is reader-supported. Course links may be affiliate links; this never affects our safety guidance.

    🎥 Watch

    HomeStoriesGearContact© 2026 BlueHole · For education only
  • Freediving Wetsuit Buying Guide (2026): Open-Cell, Thickness & Real Price Tiers

    Freediving Wetsuit Buying Guide (2026): Open-Cell, Thickness & Real Price Tiers

    Home › Gear › Wetsuits

    Freediving wetsuit buying guide (2026)

    Why trust this guide: neoprene types, thickness tiers, and prices are taken from manufacturer spec sheets (Cressi, Mares, Omer, Elios, Yamamoto) and retailer listings at time of writing.
    Affiliate note: links to certified retailers (Awin / Amazon) — no extra cost to you.

    When I bought my first freediving wetsuit, I made the classic beginner mistake: I grabbed a scuba suit two sizes too big because it felt comfortable in the shop. In the water it flushed with every kick. I burned through warmth in 20 minutes and called the dive early. A freediving suit is not a scuba suit with a different label — the design logic is opposite, and getting it wrong costs you both money and bottom time.

    Open-cell vs closed-cell: the one decision that matters most

    Freediving suits use open-cell neoprene (the inner face is unflocked, like raw rubber). It seals to your skin and traps a micro-layer of water your body heats — that’s why it’s dramatically warmer than a scuba suit of the same thickness. The trade-off: it’s fragile and you need a mix of hair conditioner and water to slide it on. Skip the lubricant and you’ll tear the chest panel on your first try.

    Closed-cell suits (scuba-style, fabric-lined inside) are easier to put on but flush constantly. Don’t use a scuba suit for freediving if you plan to stay in longer than 30 minutes. You’ll be cold and miserable.

    Premium open-cell uses Yamamoto neoprene from Japan — lighter, warmer, more flexible. You pay for it, but for a suit you’ll wear hundreds of times, the flexion difference is real.

    Thickness: match it to your water, not your ego

    Water temp Suit thickness Notes
    24°C+ (75°F+) 2–3 mm Warm tropical / pool training
    18–24°C 3–5 mm Most Mediterranean / summer temperate
    12–18°C 5–7 mm Temperate, spring/fall
    Below 12°C 7 mm + hood Cold water; most beginners stop here

    A common beginner question: “Can’t I just get the thickest one for warmth?” No. Thicker neoprene is stiffer and harder to equalize in — it fights your ribs. Pick the thinnest suit your local water allows. In most beginner spots (20–24°C), a 3–5 mm open-cell two-piece is the sweet spot.

    Two-piece vs one-piece

    Almost every serious freediver runs a two-piece: a hooded jacket (long sleeves, no legs) plus high-waist pants. Reasons: you can bail mid-session by stripping the jacket, the overlap at the waist stops flush, and it’s easier to repair one half. One-pieces exist but are rare in freediving.

    Real 2026 price tiers (what you actually pay)

    • Entry ($100–180): Cressi, Salvimar, Mares entry lines. Decent open-cell, standard neoprene. Fine to learn in.
    • Mid ($200–350): Omer, Pathos, Aqualung mid lines, some Elios stock sizes. Better flexion, often Yamamoto blends.
    • Premium ($400+): Custom Elios, Yamamoto #45 neoprene, made-to-measure. If you’re training year-round, the fit payoff is worth it.

    Avoid no-name $40 “freediving suits” on marketplaces — they’re usually closed-cell scuba suits with a freediving photo. Check the product spec for “open cell” explicitly.

    Where to buy (and how we make money)

    We’re not a shop. When we link a specific suit, it goes to a retailer we’ve actually ordered from (LeisurePro, Diveinn and similar, via our Awin affiliate relationship) or to Amazon for the model you can’t get locally. If you buy through those links, we earn a small commission at no extra cost to you — that’s literally how this site stays free to read. We only link gear we’d train in ourselves.

    The move

    If you’re just starting: get a 3–5 mm open-cell two-piece in true-to-size fit, from an entry or mid line ($120–280). Save the custom Yamamoto suit until you know you’ll still be diving in a year. Then read our fins guide — fins are where beginners overspend most.

    Jonas Reef

    About Jonas Reef

    AIDA 3-star freediver. I write the gear sections from suits I’ve personally trained in; specs and prices are verified against retailer listings at time of writing. Always confirm current sizing with the maker before ordering.

    BlueHole is reader-supported. Some links are affiliate links; this never changes what we recommend.

    🎥 Watch

    HomeStoriesGearContact© 2026 BlueHole · For education only
  • Freediving Mask & Snorkel: How to Choose (Low-Volume, Fit Test & Real Prices)

    Freediving Mask & Snorkel: How to Choose (Low-Volume, Fit Test & Real Prices)

    Home › Gear › Mask & Snorkel

    Freediving mask & snorkel: how to choose

    Why trust this guide: mask volume, fit-test method, and prices come from manufacturer specs (Cressi, Omer, Sporasub, Mares, Scubapro) and retailer listings at time of writing.
    Affiliate note: links to certified retailers (Awin / Amazon) — no extra cost to you.

    Your mask is the piece of gear you touch every single dive, and it’s the one beginners cheap out on. I did too — my first “freediving mask” was a $12 snorkeling mask from a beach stall. It flooded on descent because the skirt was too stiff to seal, and equalizing felt like crushing my eyes. A proper low-volume mask isn’t a luxury; it’s the difference between a comfortable dive and a headache.

    Why “low volume” is the whole point

    Mask volume = the air space between your face and the glass. Every time you descend, that air compresses, and you have to equalize the mask by blowing air from your nose into it — same pressure physics as your ears. A high-volume scuba mask needs a big nose-pinch to re-pressurize; a low-volume freediving mask needs barely a puff. Less effort, less CO2 spike, more dives per session.

    Rule of thumb: if the mask looks like it belongs on a scuba diver doing a wreck penetration, it’s too bulky. Freediving masks are small, close to the face, low-profile.

    What to actually look for

    • Tempered glass, never plastic. Plastic scratches in a week and distorts. Tempered (or better, “crystal”/anti-fog coated) glass is non-negotiable.
    • Silicone skirt, not PVC. Silicone seals softly to skin and lasts years. PVC goes hard and leaks.
    • Easy nose-pinch. You need to pinch your nostrils through the mask skirt to equalize. Try it in the shop — if you can’t grip, skip it.
    • Low internal volume. Hold it up; the smaller the airspace, the better.

    The 10-second fit test (don’t skip this)

    Press the mask to your face without the strap. Inhale gently through your nose. A good mask will suction and stay put for a second or two when you let go. If it drops immediately, the skirt shape doesn’t match your face — try another brand. Face shape varies; the fit test beats any review.

    Snorkel: keep it stupid simple

    For freediving you want a basic J-shape or L-shape snorkel with a comfortable silicone mouthpiece. That’s it. Ignore:

    • Valves everywhere. Purge valves and splash guards are scuba cruft; they add drag and failure points. A plain tube is quieter and lighter.
    • Fancy hinges. Pointless for our use.

    The snorkel’s only job: let you breathe at the surface between dives without lifting your face. Spend $15–30, not $60.

    Real 2026 price ranges

    Item Entry Mid Premium
    Mask (low-vol, tempered glass) $30–50 $55–80 $90–130 (custom-fit, crystal)
    Snorkel (silicone, no valve) $12–20 $25–35 $40+

    Brands beginners do well with: Cressi, Omer, Sporasub, Mares, Scubapro (their freediver lines). I’ve trained in a Cressi and an Omer low-vol — both under $80 and still going.

    Where to buy

    As with our wetsuit guide, we link gear to retailers we’ve ordered from via Awin (LeisurePro, Diveinn and similar) or Amazon for hard-to-find models. If you buy through those links we may earn a commission at no extra cost — it’s how the site stays free, and we only link what we’d dive in.

    The move

    Start with a low-volume tempered-glass mask that passes the fit test ($40–80) and a plain silicone snorkel ($15–25). That’s ~$60–100 of gear that’ll serve you for years. Then sort your fins — and read the beginner roadmap before you spend another cent.

    Jonas Reef

    About Jonas Reef

    AIDA 3-star freediver. Mask/snorkel picks come from models I’ve equalized in; prices checked against retailer listings at time of writing.

    BlueHole is reader-supported. Some links are affiliate links; this never changes our recommendations.

    🎥 Watch

    HomeStoriesGearContact© 2026 BlueHole · For education only